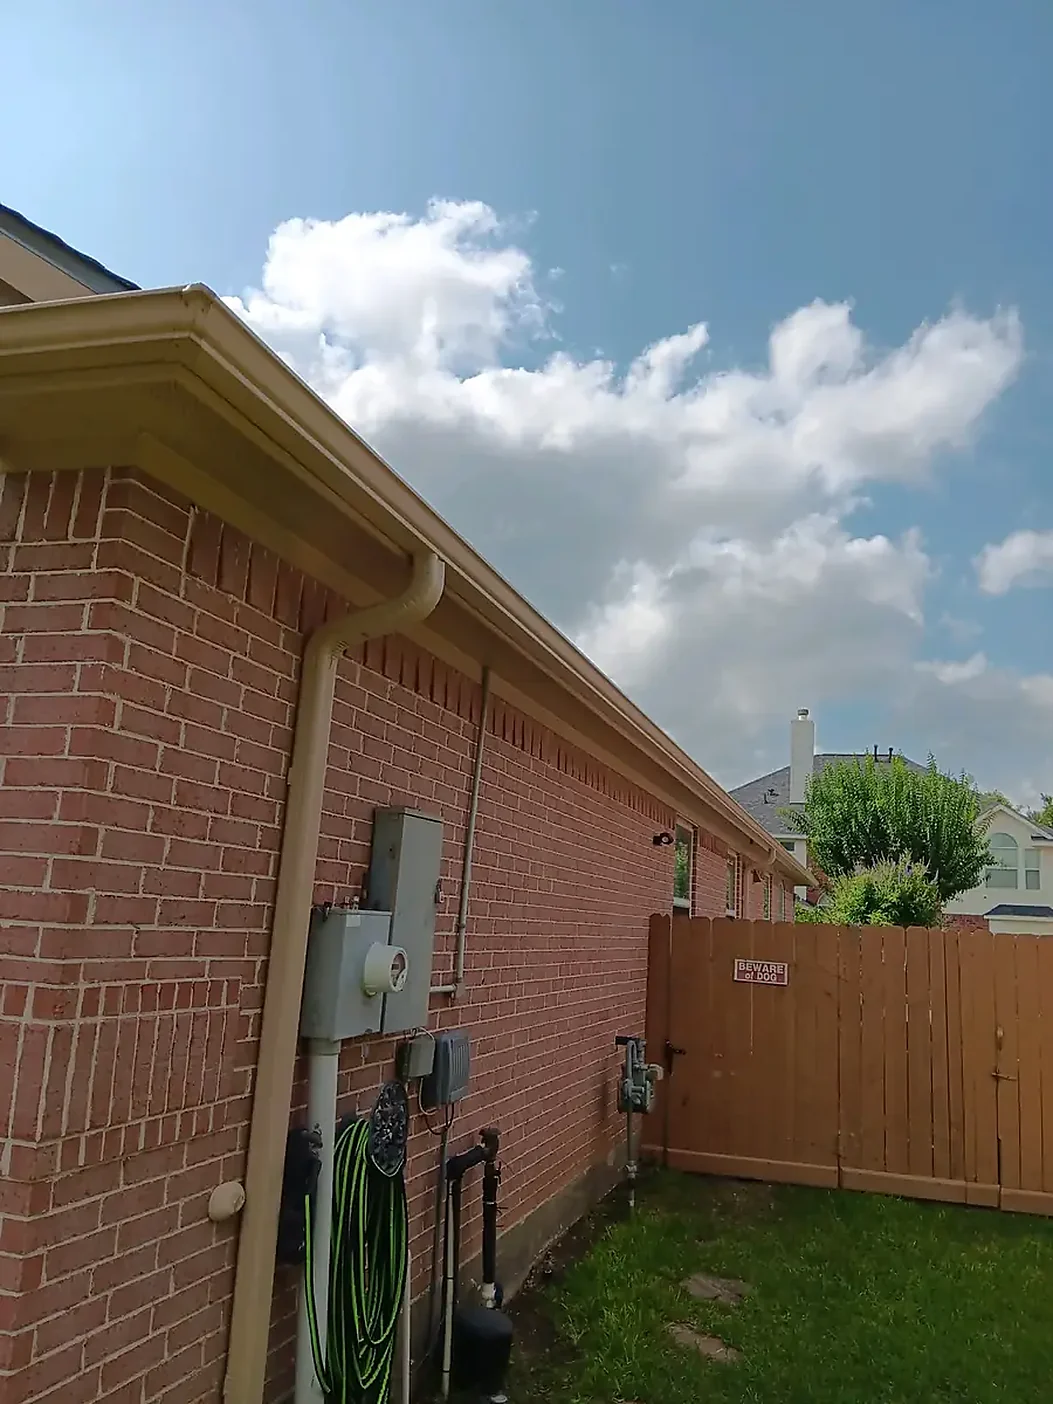
Choose the release point first
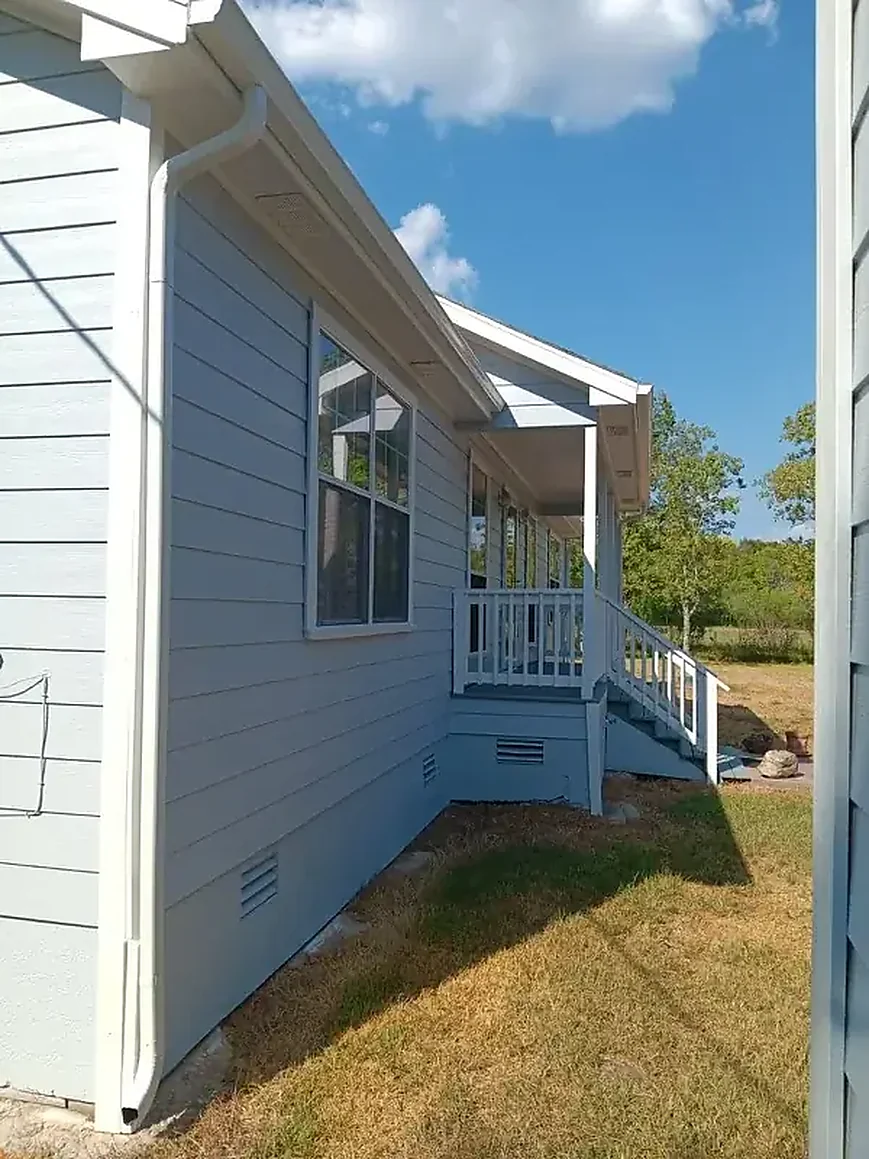
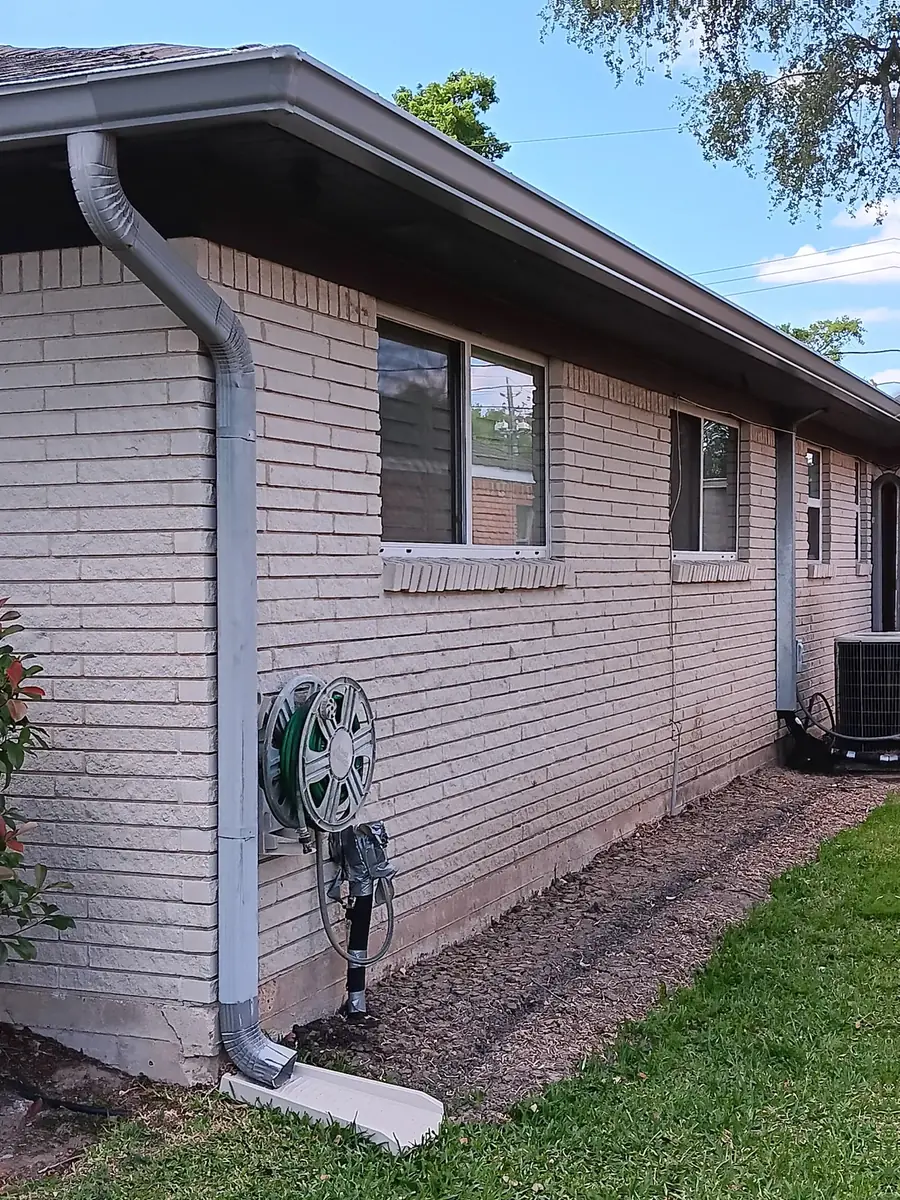
A downspout route is easier to plan backward from a workable ground-level destination. Identify where water can spread or continue draining without returning toward the slab. Then place the outlet and vertical drop so the route reaches that destination with as few awkward offsets as possible.
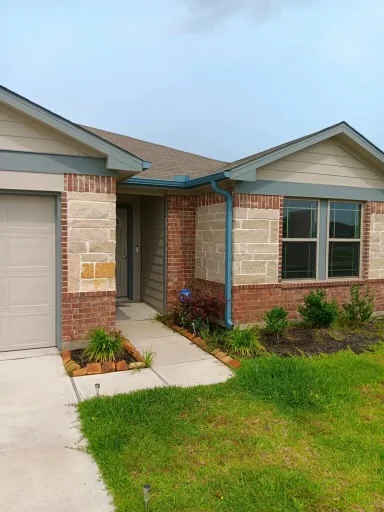
Protect doors, walks, and planting beds
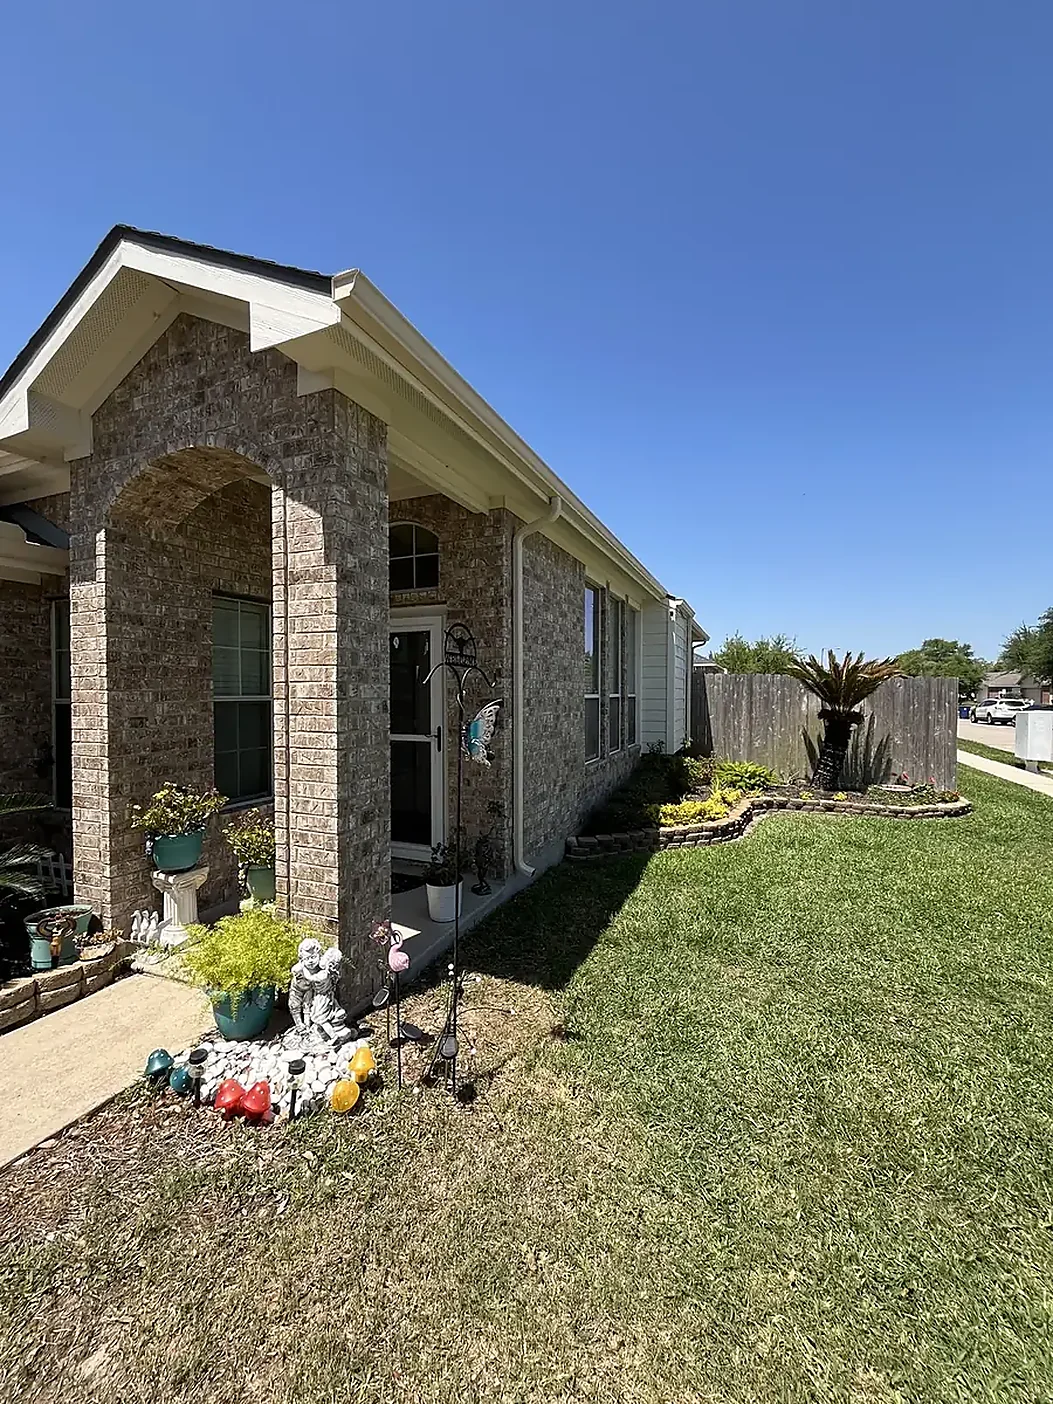
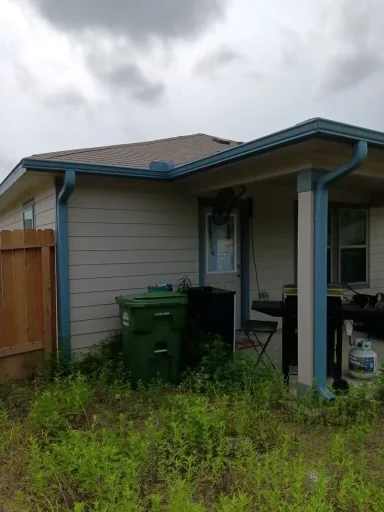
Water released beside an entry can create a wet threshold. A stream across a walkway creates a nuisance and can wash sediment over the surface. Soft beds may erode when a concentrated discharge lands in one spot. Extensions, elbows, splash control, or a different downspout position can help the route clear those conflicts.
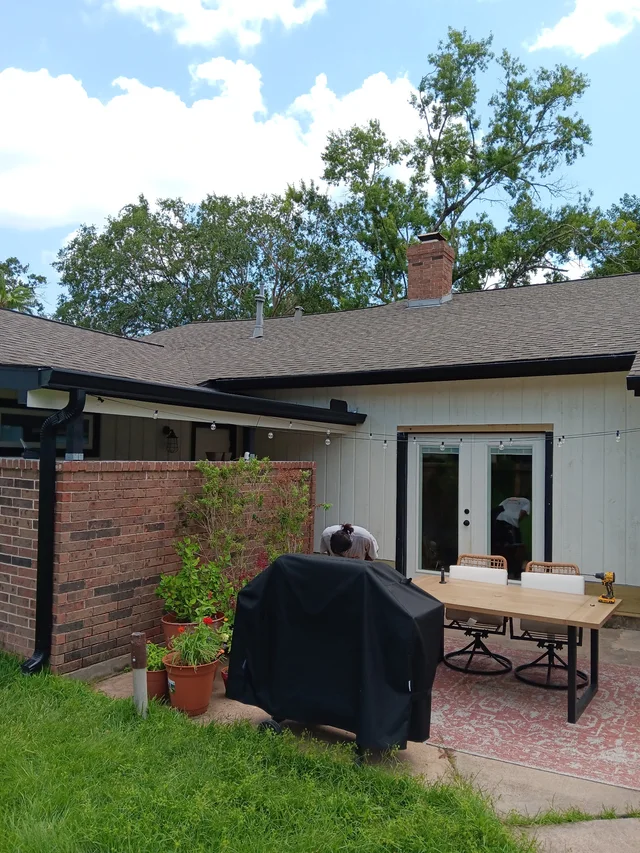
Account for long and upper-story drops
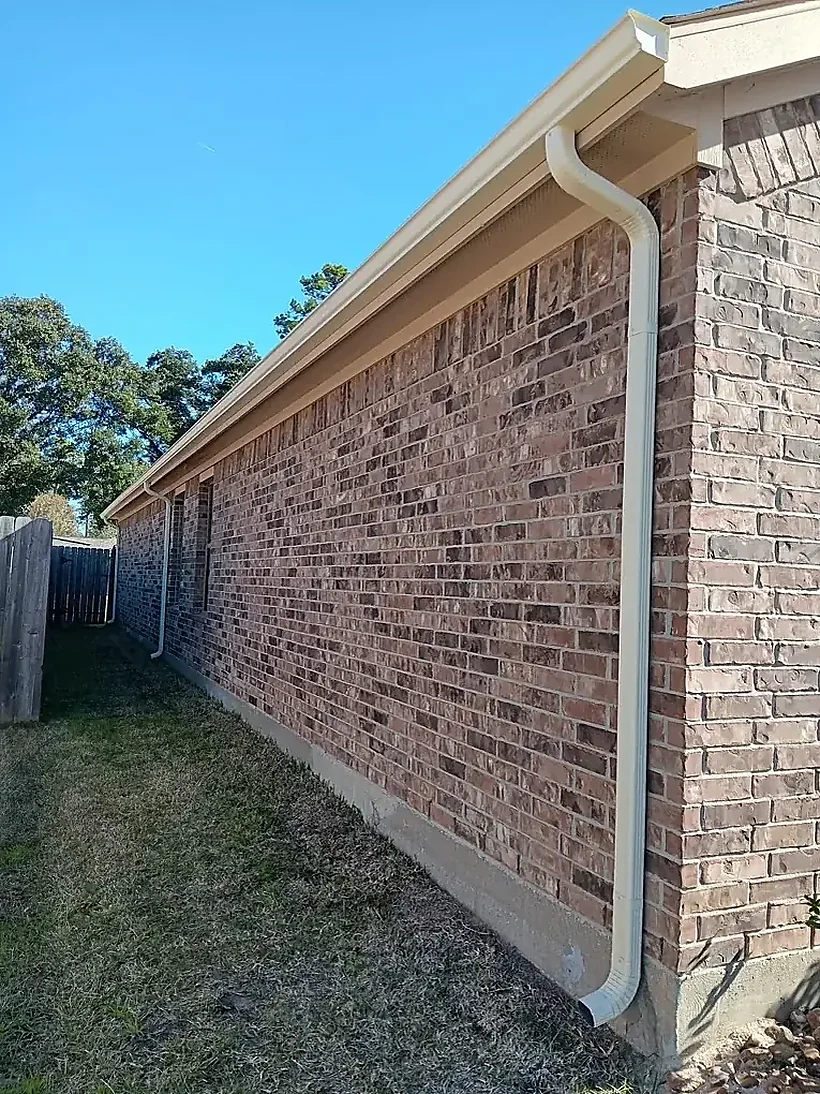
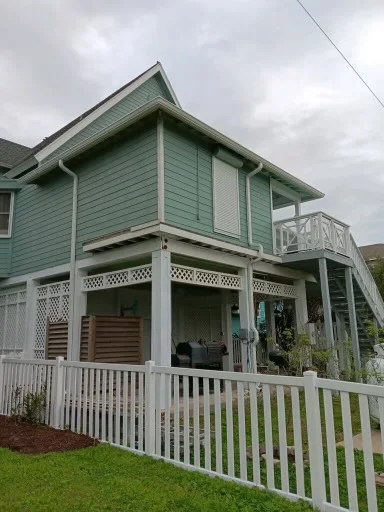
Two-story walls add vertical length and often require offsets around trim or lower roof sections. Long gutter runs may need more than one outlet so water does not travel too far before leaving the trough. The layout should also leave access for future inspection.
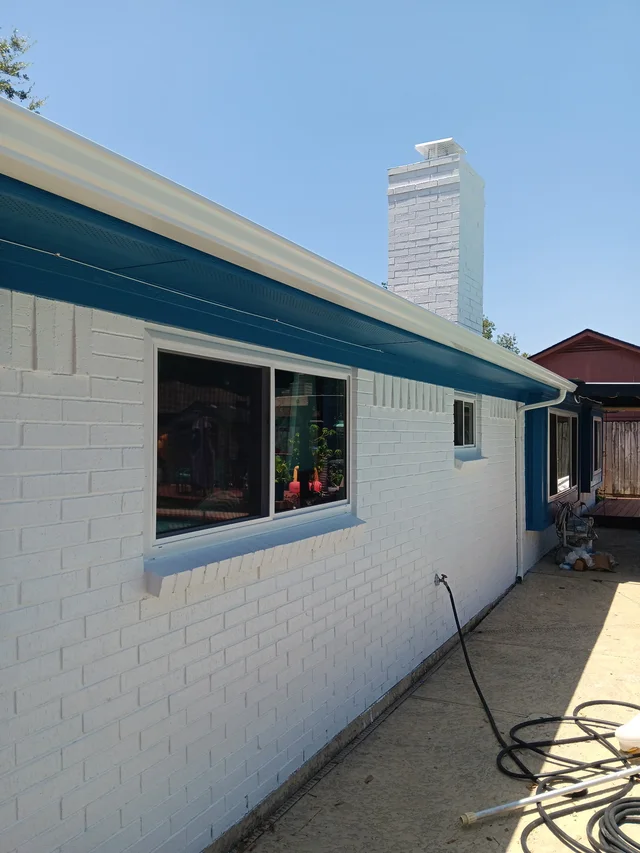
Observe the route during rain
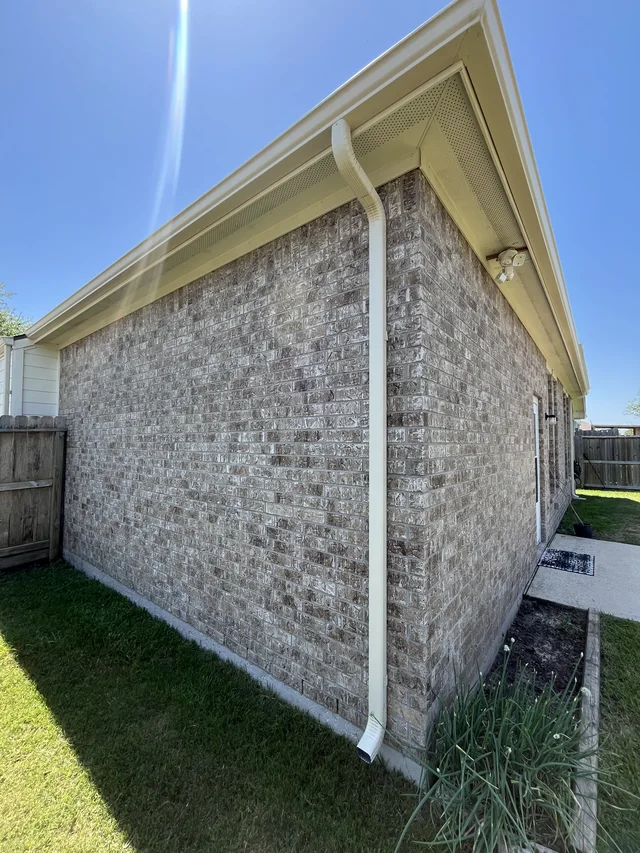
From a safe location, watch where water exits and what happens next. Pooling against the wall, flow returning under an extension, or erosion at the end of the route shows that the final few feet need attention. Also listen for a downspout that remains quiet while the gutter above overflows.
Discharge questions
How far should an extension carry water?
The practical distance depends on grading, nearby hardscape, beds, property boundaries, and the point where water can continue moving safely.
Can a new downspout fix every overflow?
Not by itself. The gutter profile, pitch, inlet conditions, outlet opening, downspout, and downstream route must work together.